GoPros are amazingly simple to use; you can unbox them and start shooting straight away. But there is one feature that can make a massive difference to your videos, and that is GoPro ProTune. Find out what ProTune can do for you, and what the recommended ProTune settings are.
Note: This post may contain affiliate links. Please read our disclosure policy for more information.
What is ProTune?
Protune is GoPro’s advanced control for Color, ISO Limit, Sharpness and Exposure. It gives you greater control over the GoPro settings and helps you to take control of your photo or video captures.
What Does ProTune Do?
ProTune for GoPro is intended to be used with editing software to enhance the colours further. Using ProTune makes files easier to edit and results in an overall better final product. That’s because turning ProTune on makes increases the bitrate of your data, making them crisper and sharper.
There is a downside, however – turning ProTune on makes files larger than if ProTune was turned off, due to turning up the bit rate by about 50%. Protune gives more detail to your footage. However, it also increases the file size by about 50%. And this drains your battery faster.
The footage tends to look flat with washed-out colours with ProTune turned on. However, they are much better for enhancing the colours using editing software. Provided that you know how to correct the colours accurately, GoPro will give you a much better final result post-editing.
What if You Leave Protune Turned Off?
With ProTune turned off, the colour profile defaults to GoPro (refer ProTune settings below). GoPro colour profile will deliver great colour which is suitable for sharing straight away, as there is little doubt that the default GoPro image quality is excellent. GoPro does a great job at delivering awesome quality videos with ProTune turned off.
I prefer to saturate the GoPro image a little further using editing software, Final Cut Pro X in my case. That’s a case of personal preference, like how much saturation you want to apply to your videos. For basic vlogging, it would be perfectly fine to leave ProTune turned off.
It comes down to this.
- Leave ProTune OFF if you want to point and shoot, and care little about controlling camera settings.
- Turn ProTune ON if you want to have some control over your camera settings, and maybe tweak things as you go.
What Protune Settings are Available?
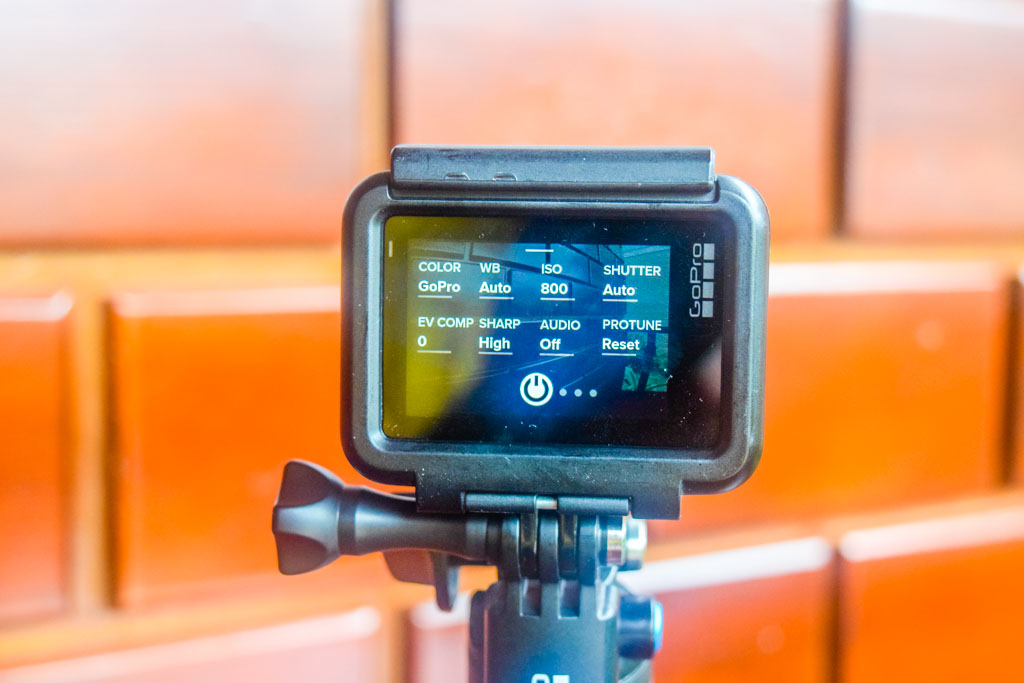
ProTune Settings on GoPro Hero5 Black & Hero6 Black
Here are the settings which can be adjusted when ProTune is turned on. The default settings on the GoPro HERO5 are in bold text.
COLOR: GoPro/Flat
WB (White Balance) – Auto / 3000K, 4000K, 4800K, 5500K, 6000K, 6500K, Native.
ISO (ISO Limit/Gain): 400, 800, 1200, 1600, 3200, 6400
SHUTTER (Shutter Speed): Auto, 1/30, 1/60/ 1/120, 1/240
EV COMP (Exposure Value Compensation) : 2.0, 1,5, 1.0, 0.5, 0, -0.5, -1.0, -1.5, -2.0
SHARP (Sharpness): High, Medium, Low
AUDIO: OFF, Low, Medium, High
PROTUNE RESET
ProTune Settings on GoPro Hero7 Black
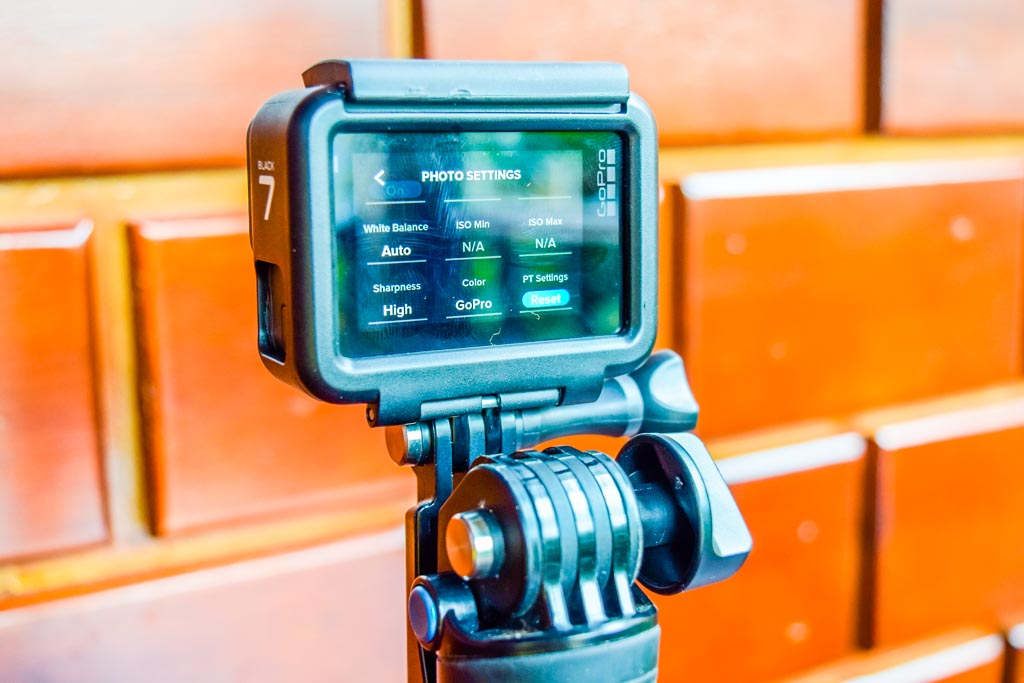
Here are the settings which can be adjusted when ProTune is turned on. There are two other ProTune Settings on the GoPro Hero7: Black ISO Max and Microphones. The default settings on the GoPro HERO7 Black are in bold text.
COLOR: GoPro/Flat
WB (White Balance) – Auto / 2300K, 2800K, 3200K, 4000K, 4500K, 5000K, 5500K, 6000K, 6500k, Native.
ISO MIN (Minumum Value for ISO Limit/Gain): 100, 200, 400, 800, 1200, 1600, 3200, 6400
ISO MAX (Minumum Value for ISO Limit/Gain): 100, 200, 400, 800, 1600, 3200, 6400
SHUTTER (Shutter Speed): Auto, 1/30, 1/60/ 1/120, 1/240, 1/480
EV COMP (Exposure Value Compensation) : 2.0, 1,5, 1.0, 0.5, 0, -0.5, -1.0, -1.5, -2.0
SHARPNESS: High, Medium, Low
RAW AUDIO: OFF, Low, Medium, High
MICS: Auto, Wind, Stereo,
PROTUNE SETTINGS RESET
ProTune Settings on GoPro Hero11 Black
Here are the settings which can be adjusted when ProTune is turned on. Note: You will have to set GoPro Controls to Pro Mode to enable ProTune. Refer to our blog post on Best GoPro Setting for GoPro Hero11 Black for more information.
The default settings on the GoPro HERO11 Black are in bold text.
10-BIT HEVC: Off, On
BIT RATE = Standard, High
COLOR: Natural, Vibrant, Flat
WB (White Balance) – Auto / 2300K, 2800K, 3200K, 4000K, 4500K, 5000K, 5500K, 6000K, 6500k, Native.
ISO MIN (Minumum Value for ISO Limit/Gain): Auto, 100, 200, 400, 800, 1200, 1600, 3200, 6400
ISO MAX (Minumum Value for ISO Limit/Gain): Auto, 100, 200, 400, 800, 1600, 3200, 6400
SHUTTER (Shutter Speed): Auto, 1/30, 1/60/ 1/120, 1/240, 1/480, 1/960
EV COMP (Exposure Value Compensation) : 2.0, 1,5, 1.0, 0.5, 0, -0.5, -1.0, -1.5, -2.0
SHARPNESS: High, Medium, Low
RAW AUDIO: OFF, Low, Medium, High
WIND NOISE REDUCTION: Auto, On, Off
MEDIA MOD = GoPro, Front, Back
PROTUNE SETTINGS RESET
How to Adjust ProTune Settings
How to Adjust ProTune – GoPro Hero5 Black
- First swipe left, starting from the right-hand side of the screen.
- Secondly, you will see the full ProTune menu. Now you can adjust all the ProTune settings.
How to Turn ProTune Off – GoPro Hero5 Black
- First swipe left, starting from the right-hand side of the screen.
- Secondly, toggle the ON/OFF button at the bottom of the screen to OFF.
How to Turn ProTune On – GoPro Hero5 Black
- From the Video Mode screen, touch the information box in the centre of the bottom of the rear display screen.
- Secondly, toggle the Protune ON/OFF button at the bottom of the screen to ON.
How to Adjust ProTune – GoPro Hero7 Black
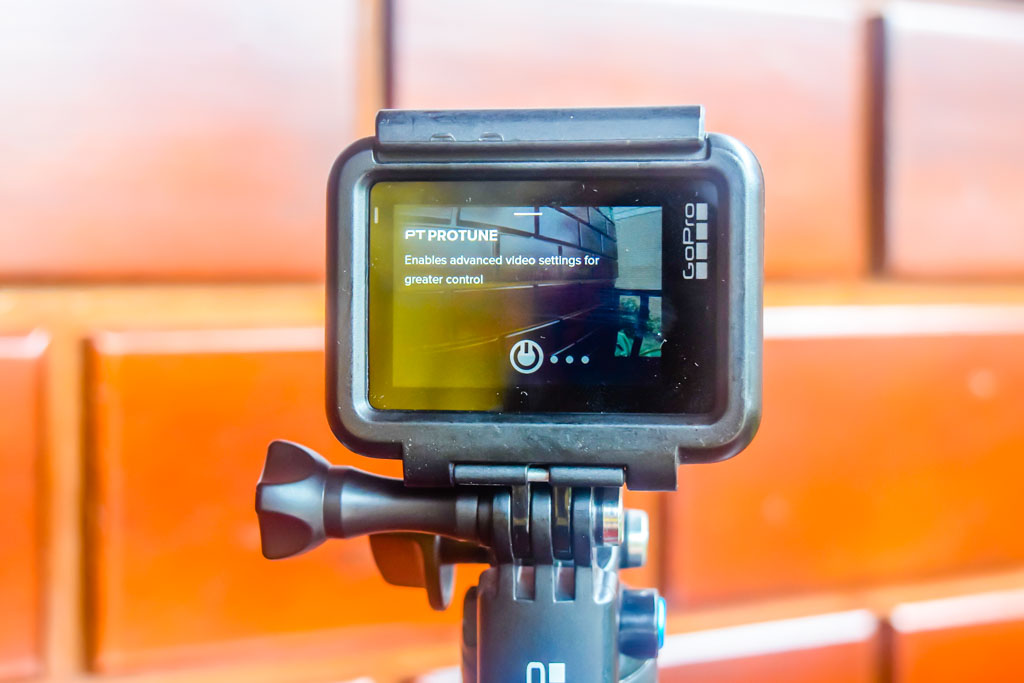
- From the Video Mode screen, touch the information box in the centre of the bottom of the rear touch screen.
- When ProTune is toggled ON, scroll down on the rear touch screen, and you will see all the Protune Settings available for making adjustments.
How to Turn ProTune Off – GoPro Hero7 Black
- From the Video Mode screen, touch the information box in the centre of the bottom of the rear display screen.
- Secondly, toggle the Protune ON/OFF button at the bottom of the screen to OFF.
How to Turn ProTune On – GoPro Hero7 Black
- From the Video Mode screen, touch the information box in the centre of the bottom of the rear display screen.
- Secondly, toggle the Protune ON/OFF button at the bottom of the screen to ON.
How to Adjust ProTune – GoPro Hero11 Black
- From the Video Mode screen, swipe down to access the dashboard.
- Swipe left for the Preference menu.
How to Turn ProTune Off – GoPro Hero11 Black
- From the Video Mode screen, swipe down to access the dashboard.
- Select Controls = Easy Mode to turn Protune OFF.
How to Turn ProTune On – GoPro Hero11 Black
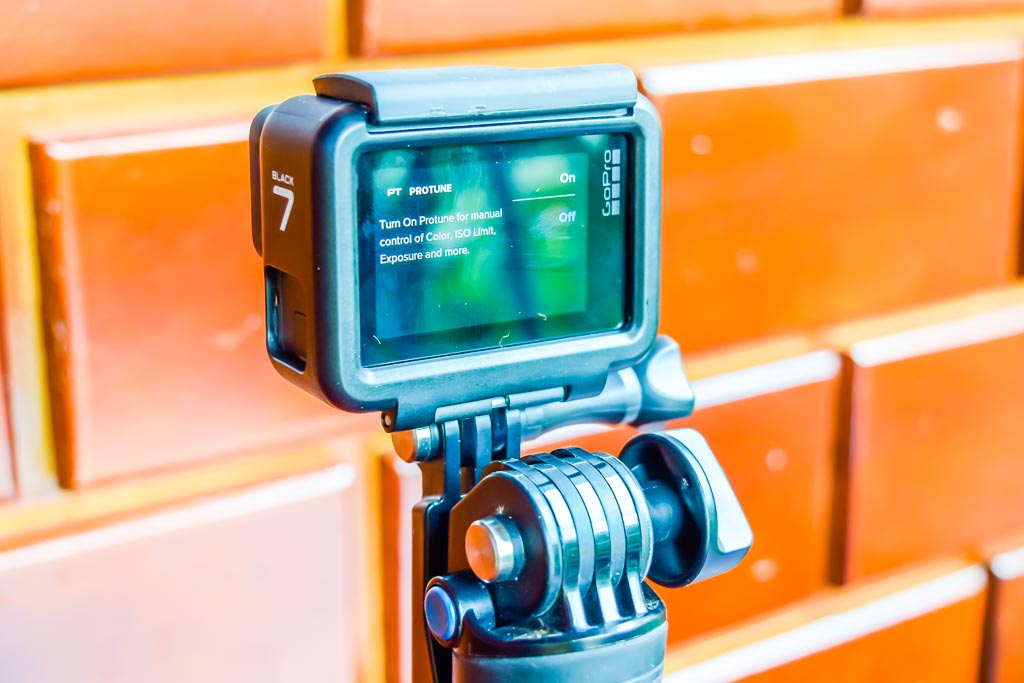
- From the Video Mode screen, swipe down to access the dashboard.
- Select Controls = Pro Mode to turn Protune ON.
Recommended GoPro ProTune Settings
It all comes down to personal taste and how much editing you intend to do. Here is a video showing you how each setting adjustment looks on the ProTune image.
Most of the clips in this video are in the raw mode, meaning they have not changed at all using editing software. However, the last two clips have been edited using Final Cut Pro X, to show you the difference this can make to the resulting image, without getting too technical.
You can see in these two clips that the colour changed by increasing the saturation to 60%, thus giving more intense colour in the post-production video. This is of course to personal taste, I like saturated colour.
10-Bit Colour
10-Bit Colour is a new feature for the GoPro Hero11 Black and can display over 1 billion colours for enhanced colour depth. Turn this setting on to save your videos in the 10-bit HEVC format.
I recommend you set 10-Bit to OFF if you are looking to conserve file sizes. 10-Bit colour will consume more storage space.
Bit Rate
Bit rate determines the amount of data used to record a second of video. Choose between standard or high. A high bit rate gives you optimal image quality.
I recommend you set the Bit Rate to High.
Colour:
Options: GoPro/Flat (GoPro Hero7 Black) or Natural/Vibrant/Flat (GoPro Hero11 Black)
Flat is similar to using RAW files on DSLR cameras. It looks flat straight out of the camera, but the images files retain all the information for editing. The flat format is more compatible with editing software and can come up better looking after editing.
GoPro/Vibrant setting gives you a more vibrant and saturated-looking shot. Note that the GoPro/Vibrant option gives you the same colour profile as if the Protune is turned off.
I prefer to use the GoPro option (Hero7 Black) or the Vibrant option (Hero11 Black), which I further enhance with editing software. I use Final Cut Pro X and may further adjust the saturation up to about 60%. Although these are not the most authentic representation of the colours, I find that these videos pop with vibrant colours.
White Balance
Options: Auto / 3000K, 4000K, 4800K, 5500K, 6000K, 6500K, Native (where K refers to Kelvin).
White Balance will adjust the colours and tones in your shot, according to the shadows and highlights visible. I prefer to leave this on Auto.
If you do want to adjust:
- 3000K is a warm light. Examples are indoors under incandescent lighting or sunrise/sunset conditions.
- 5500K is slightly cold light. Examples are indoors under cool fluorescent lighting or average outdoor lighting conditions.
- 6500K is for cold light. An example is an overcast day outdoors.
- Native is an industry-standard optimised colour.
ISO Minimum/Maximum:
Options: Auto, 100,200,400, 800, 1200, 1600, 3200, 6400
The rule of thumb here is to take it down as low as possible. That’s because higher ISO numbers can lead to lower-quality, grainy images.
The default 1600 exposure is only suitable for dull overcast or indoor conditions, and will most likely result in a grainy-looking video.
GoPro Hero11 Black sets a default minimum of 100, a maximum of 1600. These settings are fine, however, I prefer to set ISO Min & ISO Max to Auto.
Shutter Speed:
Options: Auto, 1/30, 1/60/ 1/120, 1/240, 1/480, 1/960
I leave this on Auto, playing with this is getting into the more advanced aspects of photography.
Exposure Value Compensation
Options: 2.0, 1,5, 1.0, 0.5, 0, -0.5, -1.0, -1.5, -2.0
I leave this on 0, it is quite easy to open Protune EV to adjust to a brighter or duller image for different light conditions. Normally adjustments +/- 0.5 will be sufficient.
Sharpness:
Options: High, Medium, Low
I leave this on the default Medium so the images are not too crisp, or sharp images, which can give the videos an unnatural harsh edge. Alternatively, you can get an even softer image by adjusting sharpness to Low. Sharpness can then be easily adjusted either way using editing software.
RAW Audio:
Options: OFF, Low, Medium, High
I leave this set to OFF. It’s hard to find information on Protune Audio; it’s not on the GoPro Protune website. I’ve read elsewhere that it’s only useful for post-recording audio editing, which I do not bother with. If you turn it on, you will get a separate audio file.
Wind
A new feature on GoPro Hero11 Black is the wind noise feature. I prefer to leave this on Auto.
Summary of Recommended Settings:
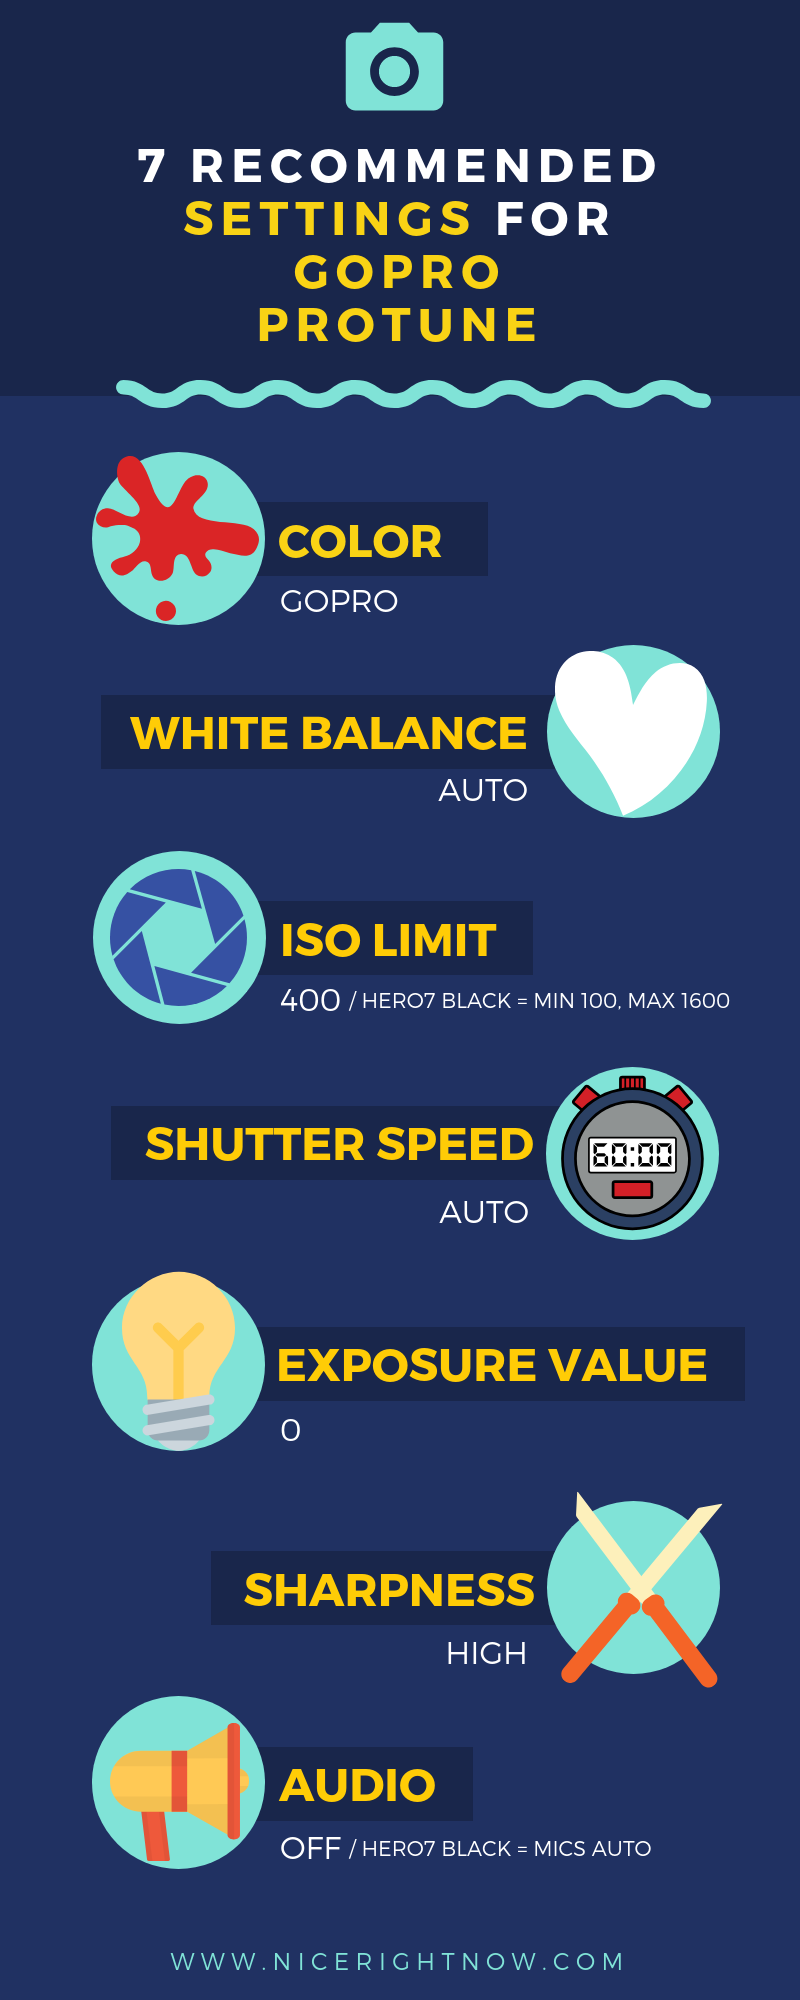
I recommend you turn ProTune ON, and use the below settings as standard. You may wish to adjust EV COMP from time to time, but that’s the only adjustment necessary.
- 10-Bit Colour = Off
- Bit Rate = High
- Shutter Speed = Auto
- EV Comp = 0
- White Balance = Auto
- ISO Min = Auto
- ISO Max = Auto
- Sharpness = Medium
- Color = Vibrant
- RAW Audio = Off
- Wind = Auto
- Media Mod = Front (Depends on how you are using the GoPro)
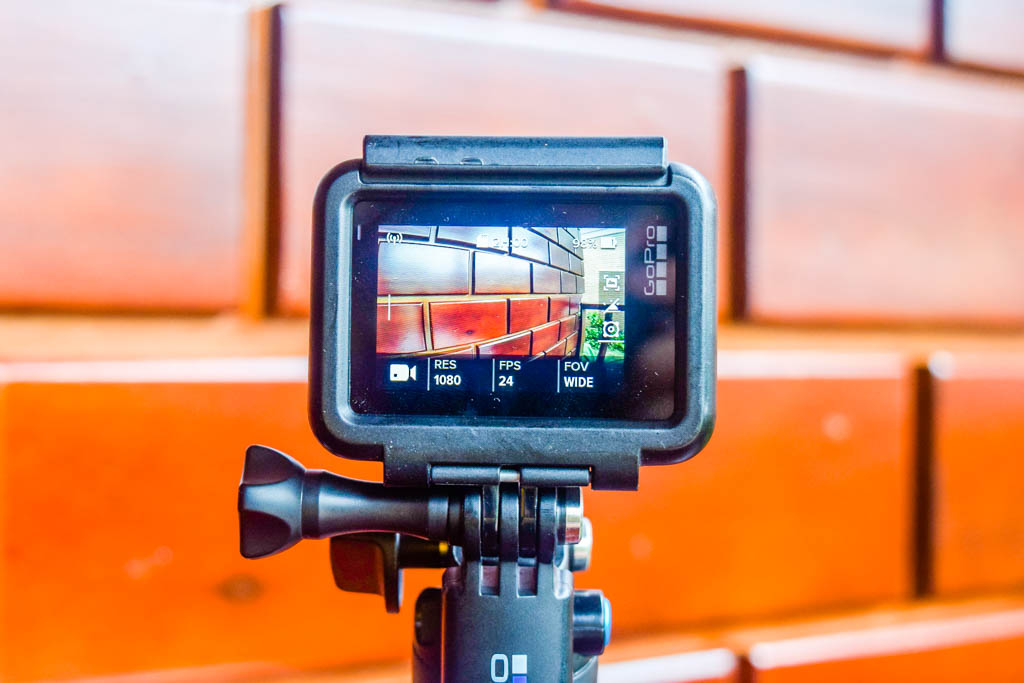
Which GoPro Cameras use ProTune?
Protune became available with the GoPro HERO3. However, it was for videos only. Then with the HERO4, 5 and 6 Protune became available for both photos and videos. Here is a list by of each GoPro model which includes ProTune, which is one of the Registered Trademarks of GoPro.
- Hero11 Black
- Hero10 Black
- Hero9 Black
- Hero 8 Black
- GoPro Max
- Hero 7 Black
- Fusion
- Hero6
- Hero5
- Hero4 Session (Protune for Hero4 Session video and photos)
- Hero4 Silver (Protune for Hero4 Silver video and pictures)
- Hero4 Black (Protune for Hero4 Black video and images)
- Hero3+ (Protune for GoPro Hero3+ Silver video only)
- Hero3 Silver (Protune for GoPro Hero3 Silver video only)
- Hero3 Black (Hero3 ProTune for GoPro Hero3 Black video only)
Final Say on ProTune
Whether you decide to turn on Protune on GoPro or leave it off is a matter of how much time you want to invest in post-production software editing. And how much you want to have the absolute best video possible, which is using ProTune.
In reality, I like to spend more time outdoors amongst the action, especially when I’m out capturing travel videos — less time in the editing room. At the end of the day, it all comes down to personal preferences.
Would you like a free copy of our Ultimate Bucket List?
Not sure where to travel to next? We have created the Ultimate Bucket List to help you plan your next trip — 1170 excellent travel destinations in 167 countries. And we want you to have it for FREE.
Send Me the Ultimate Bucket List

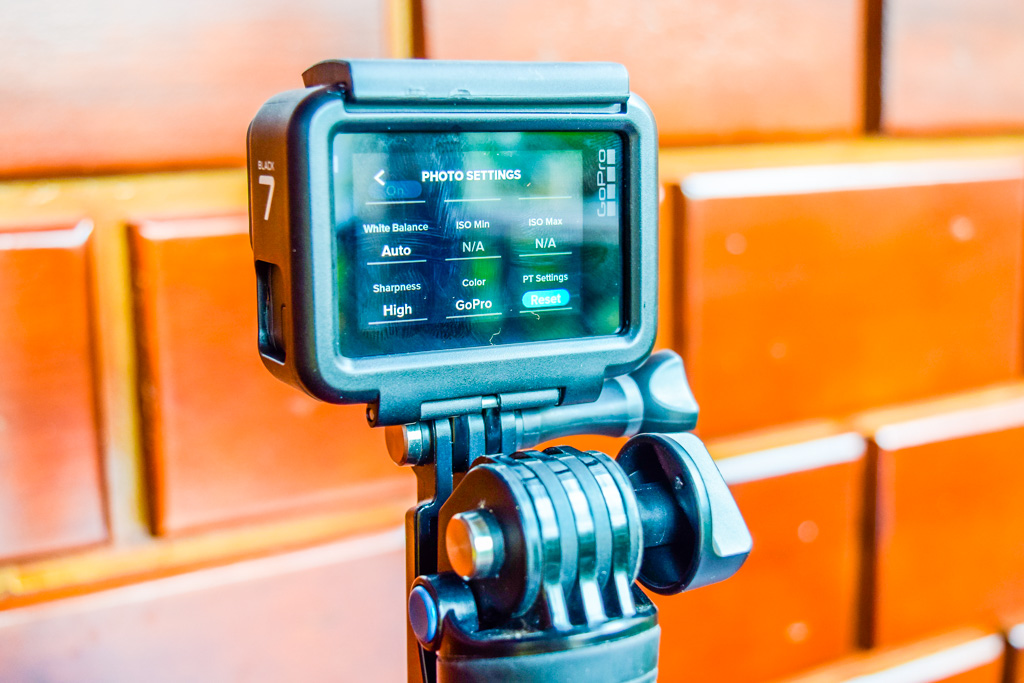



Gopro Protune whitebalance presets actually don‘t work correctly.
Especially on red items you see them becoming orange after setting a custom whitebalance.
As long as you are in the menu and switch between the presets everything is ok, but if you prompt the settings or start recording colors get wrong.
Comments are closed.